How to create your blog for free in 10min
2022年8月1日 · 760 字
This article is the first in a series on how to build a free independent blog, and will also teach you how to quickly use the features of GitHub Pages to build your blog.
It will help you build and deploy a blog site quickly. For more on hugo-ladder, we recommend following this article to build how to create your blog for free by hugo ladder theme in 30min。
Preparation
Create GitHub Account
Before building our blog site, we need to register a GitHub account. The account username is very important, which is the domain address of our blog site.
For example, if we create an account with the username guangzhengli, we will get our blog site which address is https://guangzhengli.github.io.
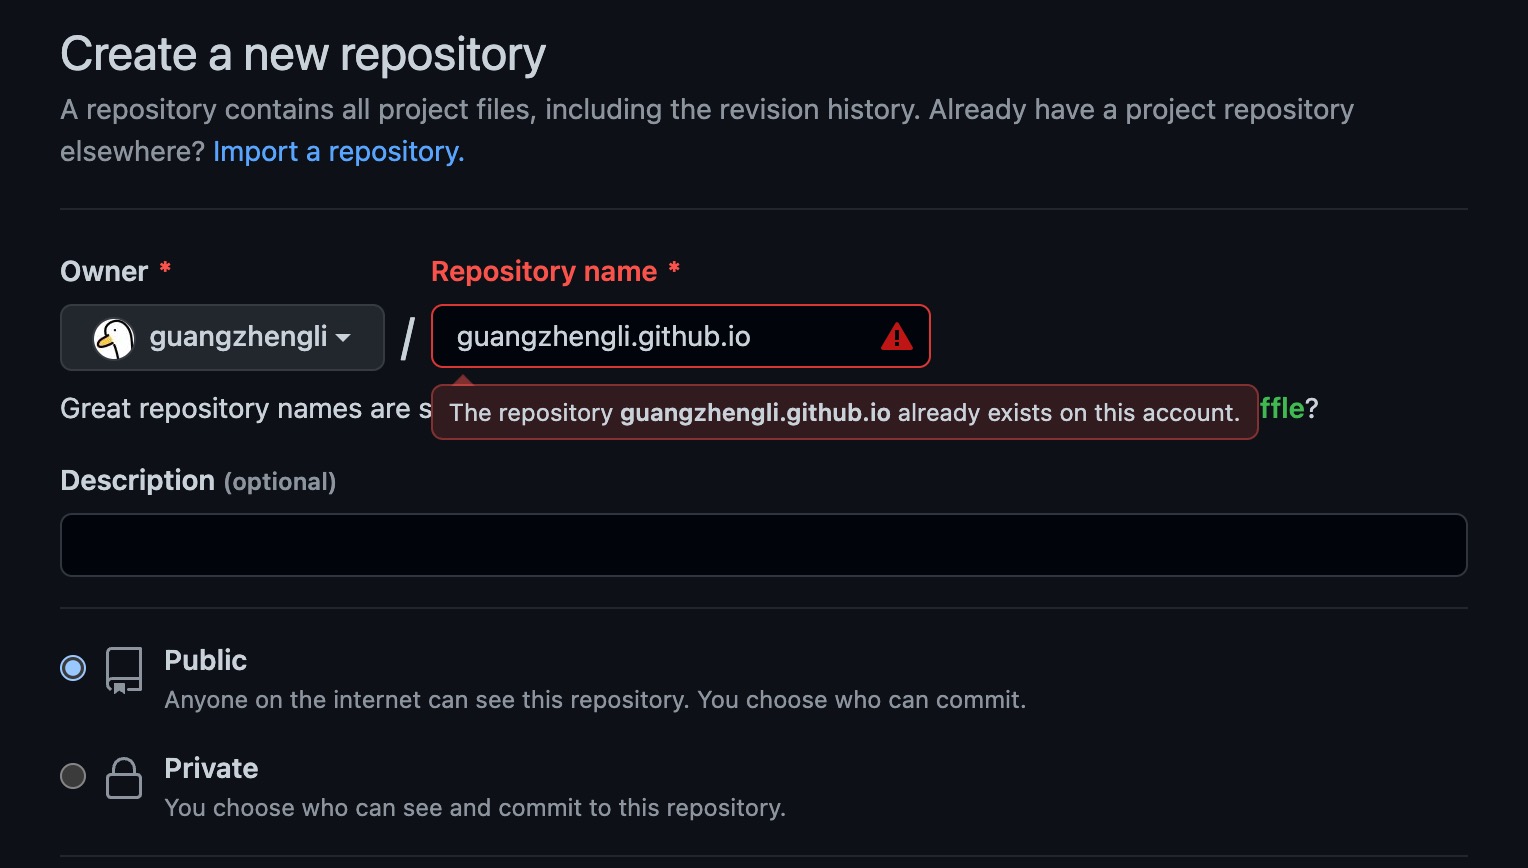
Create repository for GitHub Pages
You can find the full tutorial in the GitHub Pages Doc. It just need create a new repository with the repository name username.github.io.
Build blog
You can clone the repository, which is ready for build and deploy hugo-ladder-exampleSite.
git clone https://github.com/guangzhengli/hugo-ladder-exampleSite.git
After pulling the repository code, we need to modify the configuration, which in the config.yml file at the root directory, we need to change all default configs to our custom configs.
modify configration file
Open the config.yml file in the root directory with an editor and change the configuration as follows:
baseURL: 'https://hugo-ladder.pages.dev' # set https://username.github.io
homepage: 'https://hugo-ladder.pages.dev' # set https://username.github.io
defaultContentLanguage: 'en' #default language
params:
  brand: HOME # set the brand of your site
  avatarURL: /images/avatar.png # avatar, replace your avatar in the /static/images/
  author: Hugo Ladder # name
  authorDescription: # description
  info:  this is a info # information of your blog site
  favicon: /images/avatar.png # blog site icon,replace your avatar in the /static/images/
  options:
    showDarkMode: true # is show dark mode button
    enableMultiLang: true # is show multi language button
Annotate comment-related functions
The repository hugo-ladder-exampleSite just for quickly start. Suppose we all use the same comment configurations. In that case, it will bring some trouble to the subsequent visitor use, so annotating comment-related functions will be better.
change the configuration as follows:
comments:
    giscus:
      enable: true
to
comments:
    giscus:
      enable: false
How to create or update posts
You can find the ExampleSite demo article in the content/blog at the root directory. You can create a new markdown file to add a new article.
Currently in the article header, these tags need to be added to configure the display of the article:
title: article titledate: published datetags: tags for articles to search or showseries: series of articles, it will be show related article in the bottom of articlefeatured:trueorfalse, article will be show in the featured posts in home page if set true.
And you may add the summary divider where you want to split the article.
Deploy blog
push your code to username.github.io
In the first step, we create a repository named username.github.io, so you can use the following command to remove the remote URL of the repository hugo-ladder-exampleSite, and then add your username.github.io address to git configuration. replace username with your account username in the following command.
Finally, you can push your change to the remote repository.
git remote remove origin

git remote add origin https://github.com/username/username.github.io.git

git add .

git commit -m "feat: init blog site"

git push origin main
Deploy GitHub Pages
Once we've made sure our push is successful, it will automatically build the code in the Actions. So you can go to this address to check if workflow is running successfully. replace username with https://github.com/username/username.github.io/actions
If Actions runs successfully, we will have a new branch called gh-pages. We go to the repository's settings center Settings, select Pages, and then Build and deployment -> Source and selects Deploy from a branch. After that Branch select gh-pages to configure successfully.
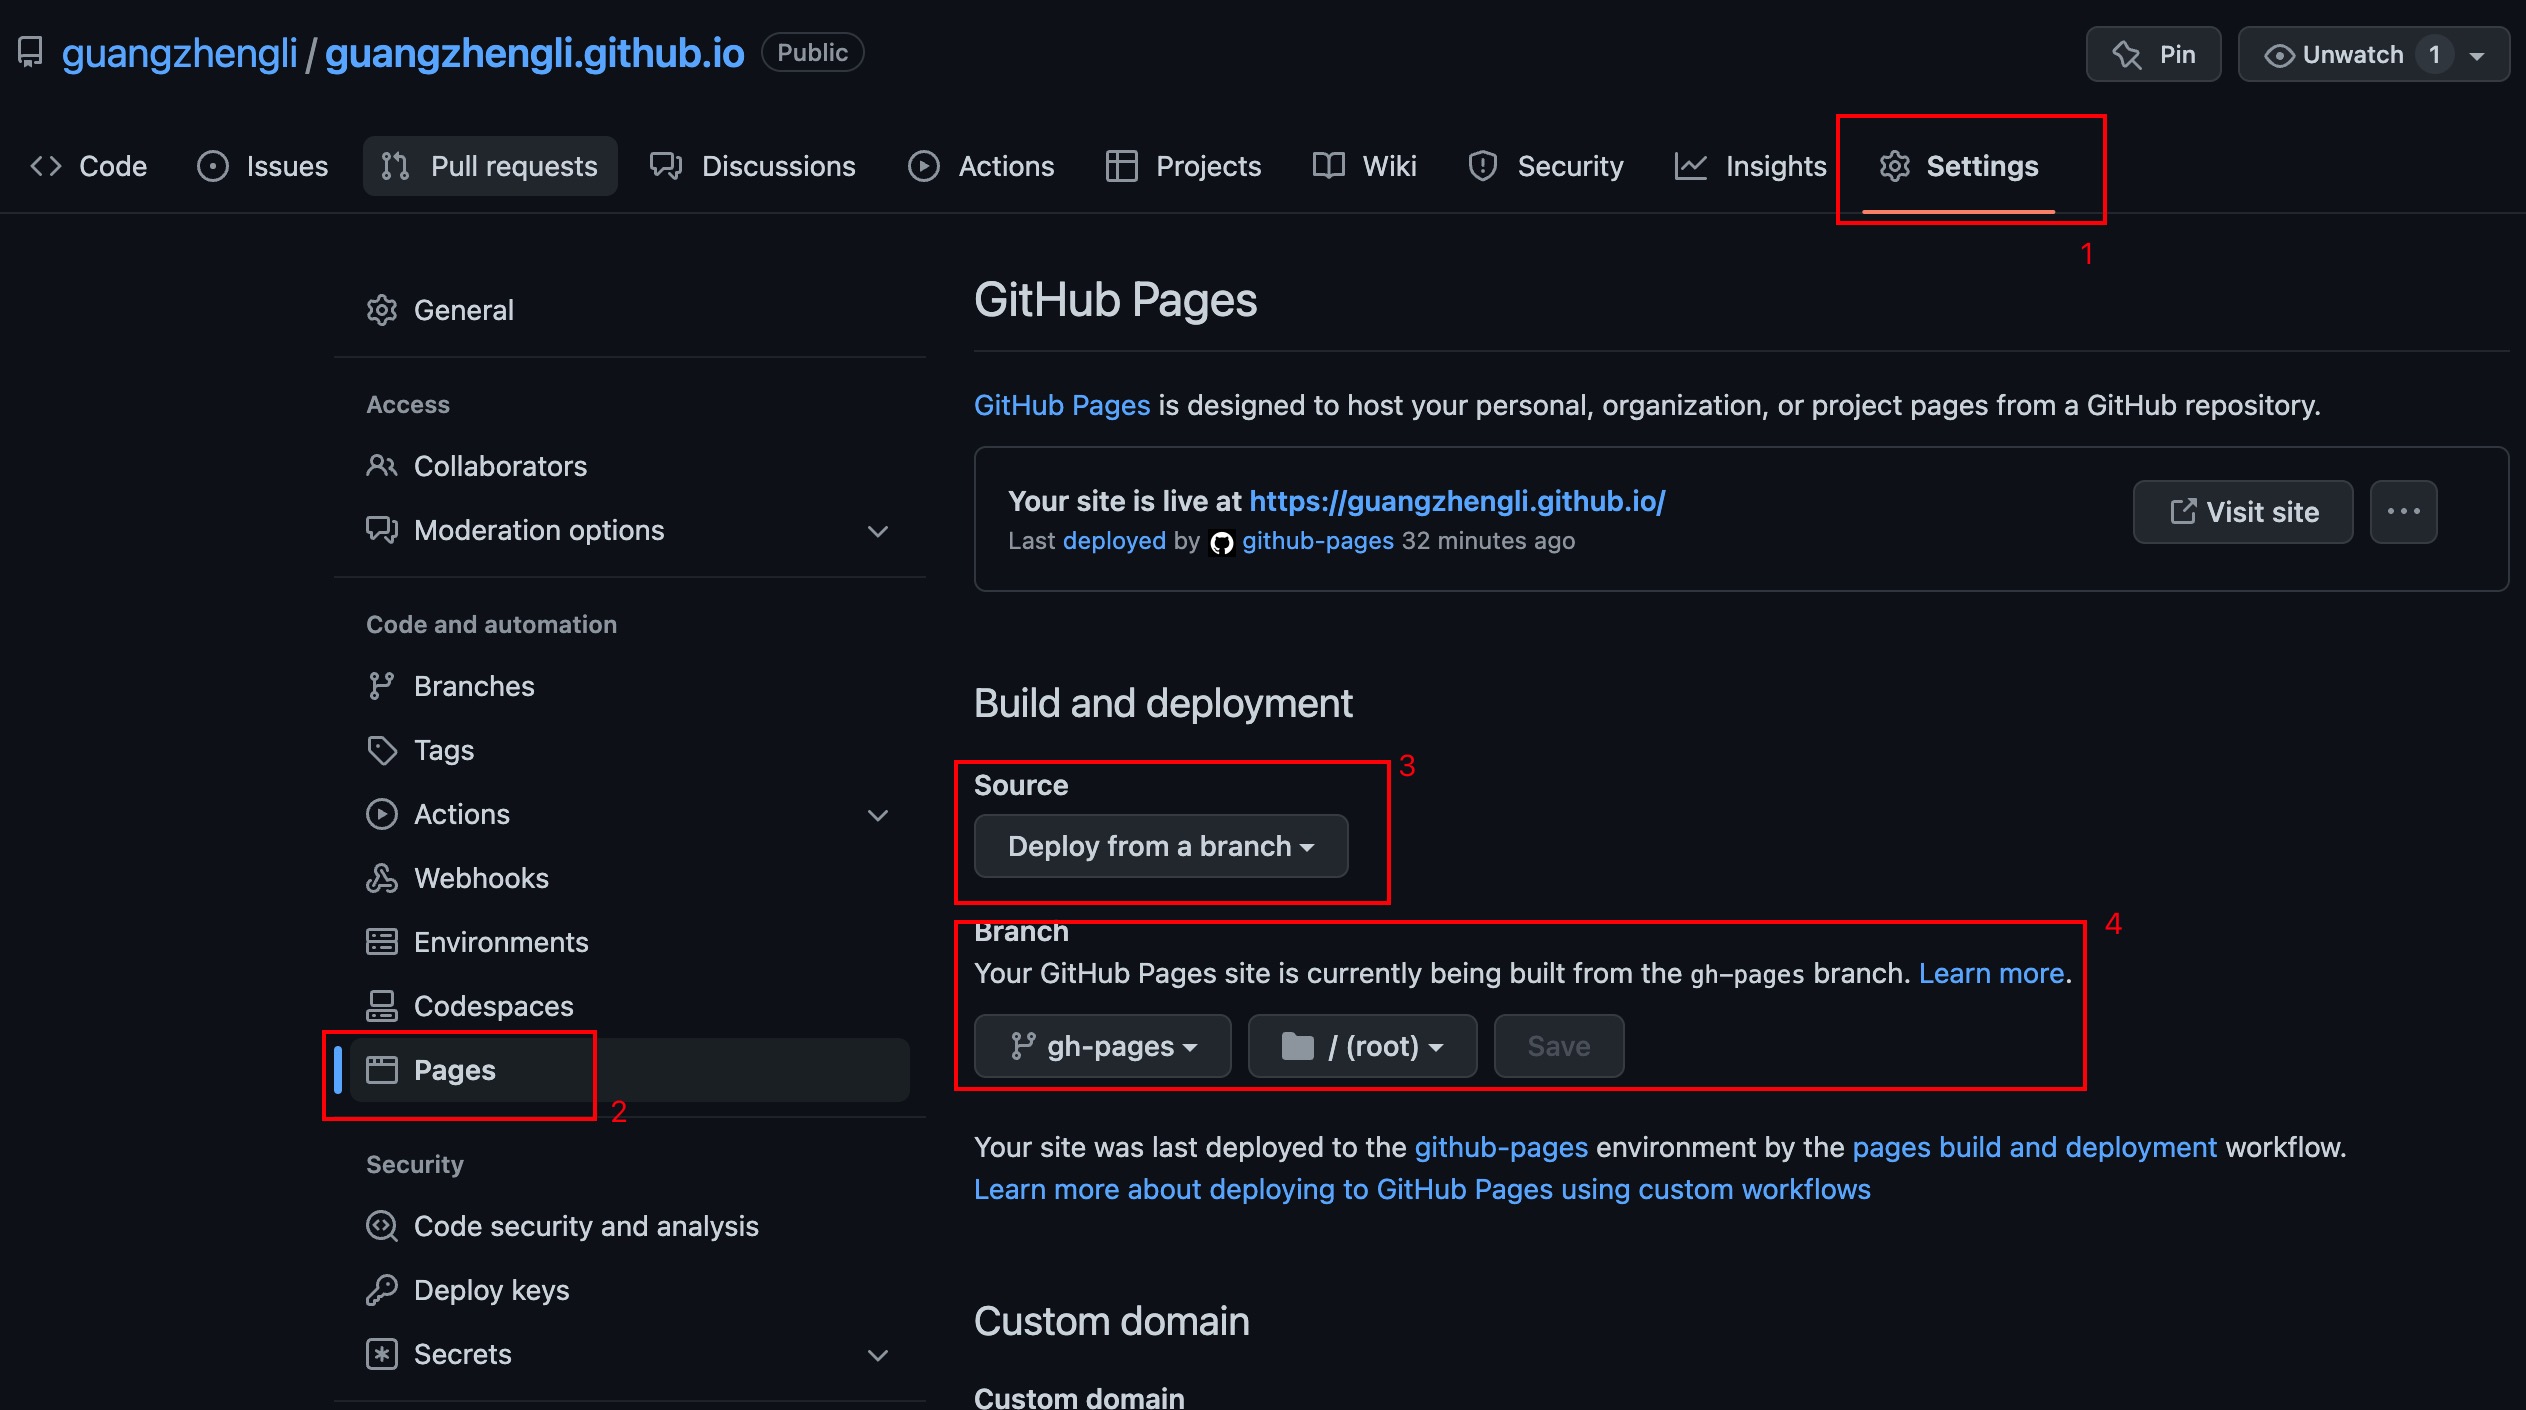
Select Visit site above or manually enter https://username.github.io for successful access! 🎉🎉🎉🎉
If you have any questions when deploying, you can leave a comment below.